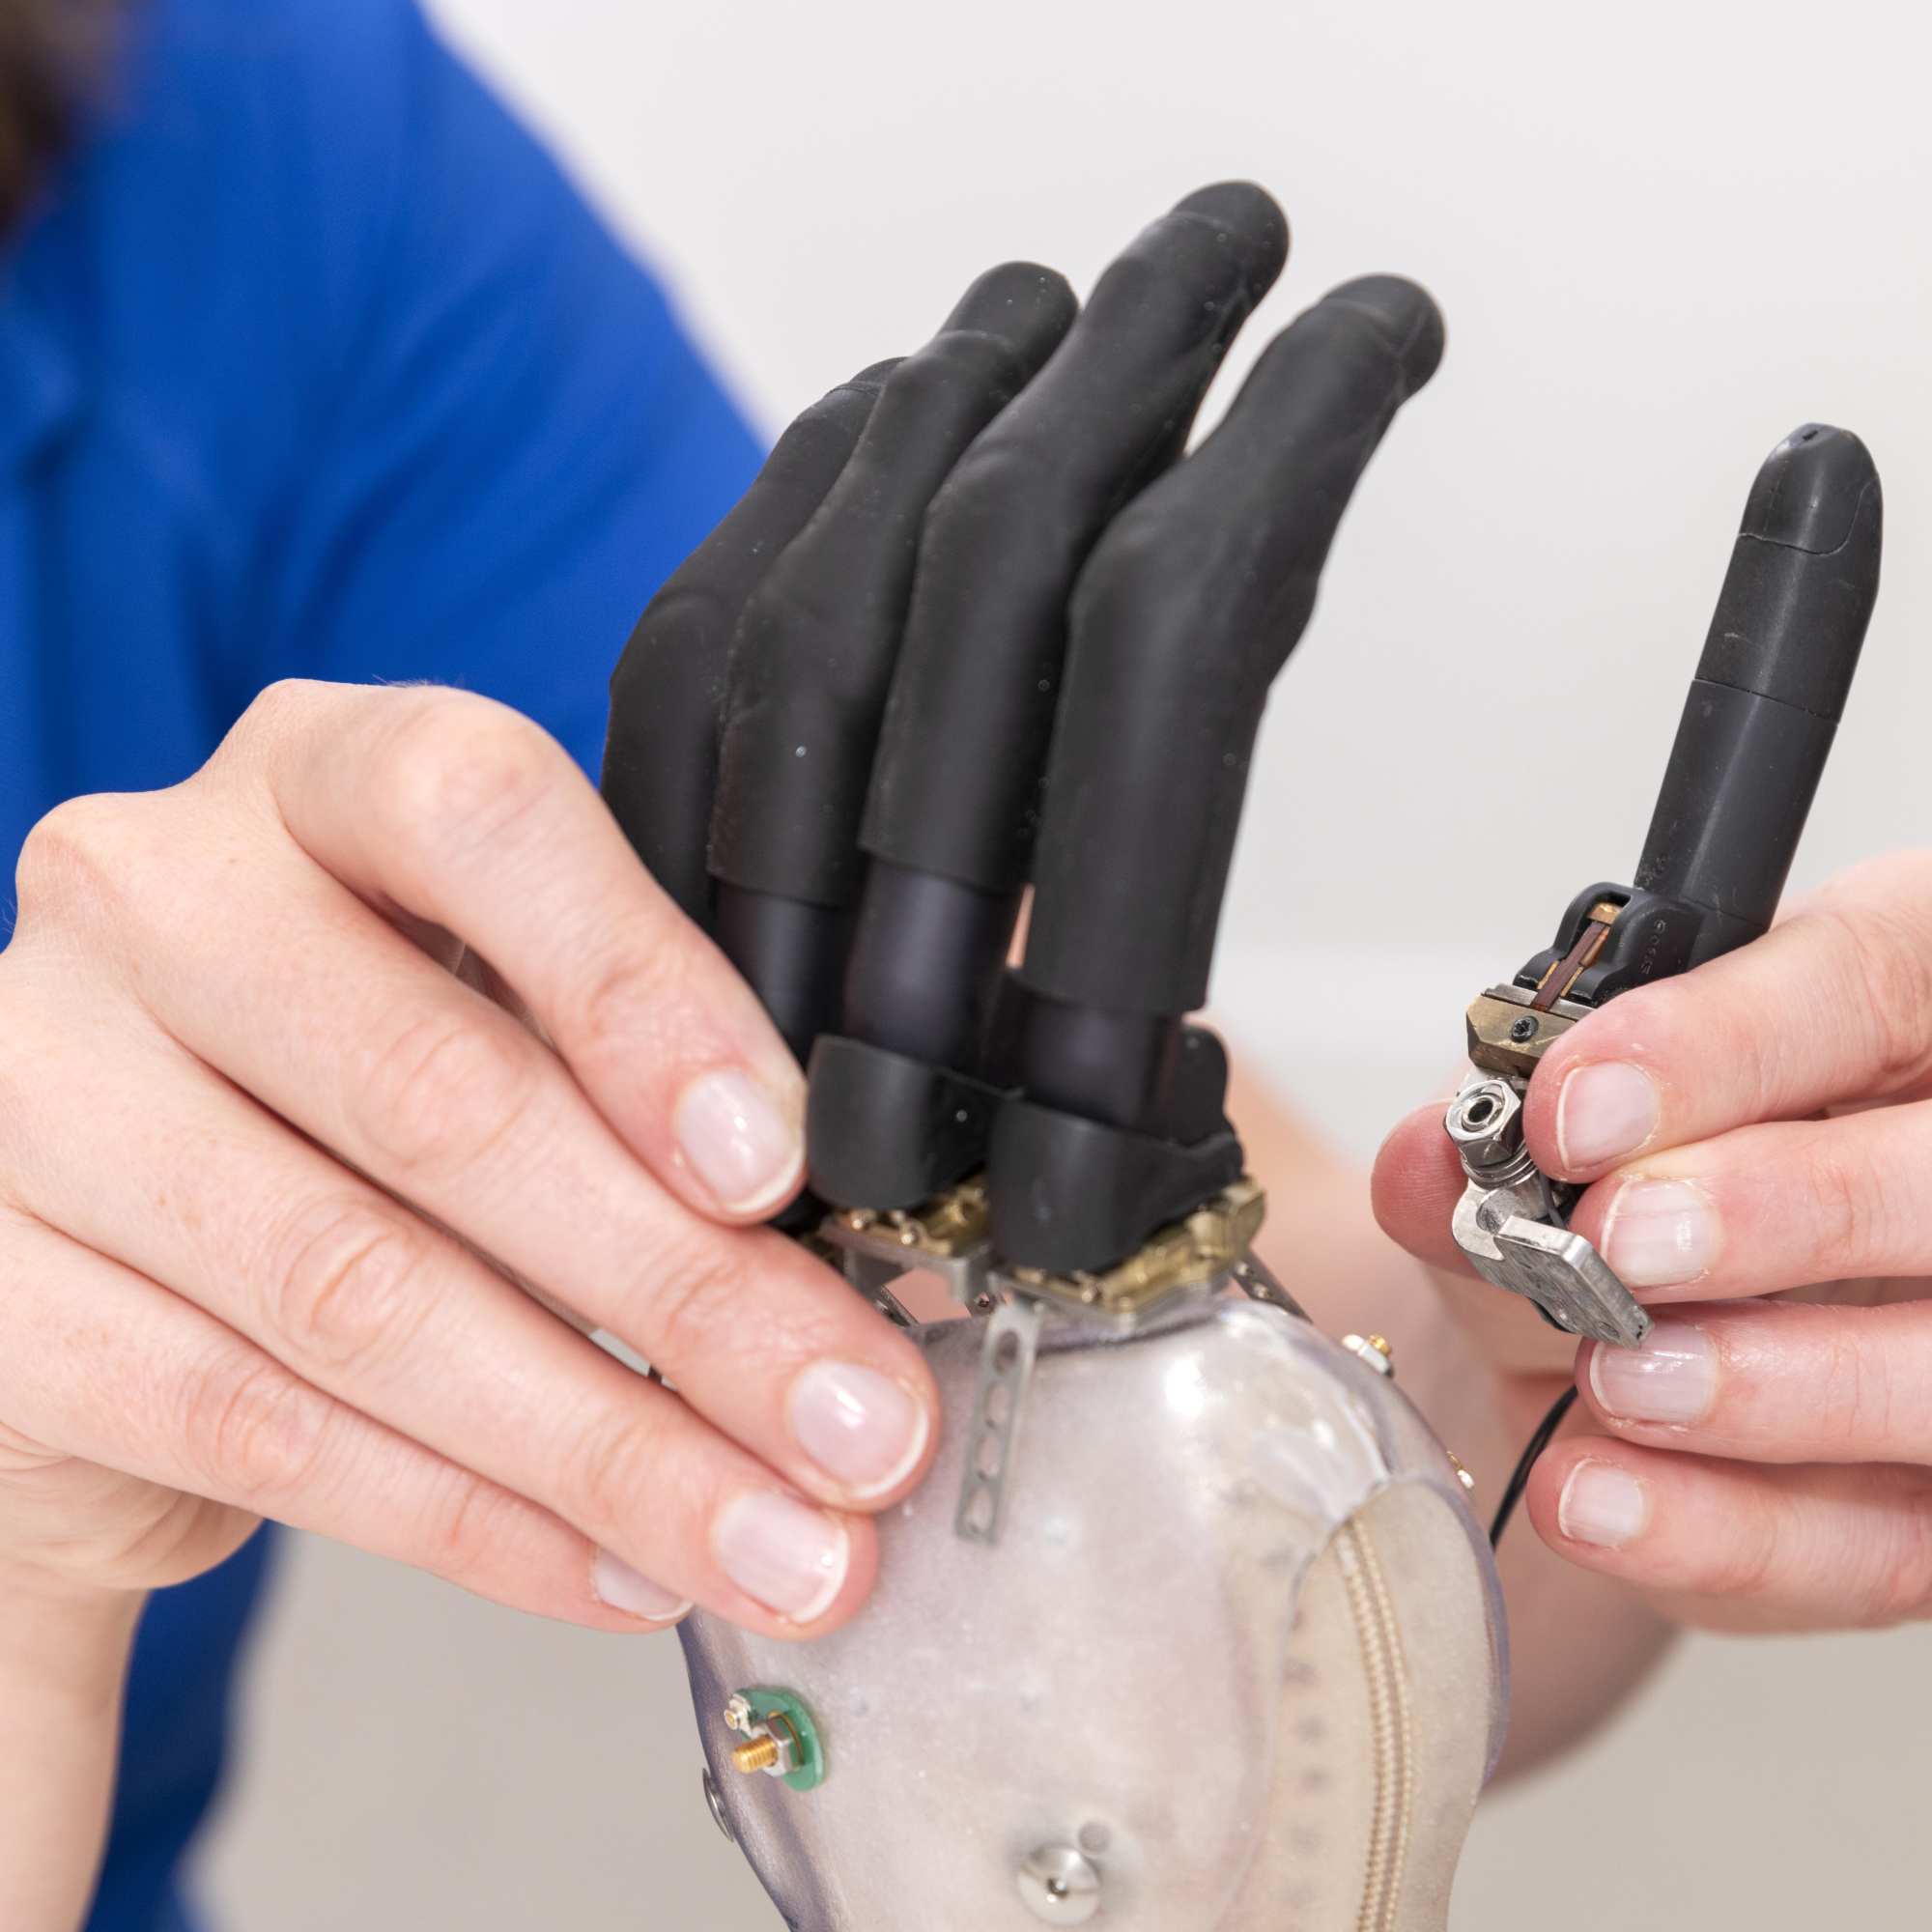
Assessment Phase
Thorough initial assessment of the user is critical to the successful fitting and outcomes with the i-Digits prosthesis. It is important to ensure that physical presentation, functional requirements, viable control sites are all considered within the design of the individual's i-Digits prosthesis.
i-Digits is appropriate for individuals with partial hand absence which is
- Distal to the wrist
- Proximal of the metacarpal-phalangeal joint
- Absence of 1 or more fingers
- Appropriate from adolescence onwards
It is important during initial assessment to consider the following aspects
- Skin condition, healing, scarring
- Range of movement in any remaining fingers
- Range of movement at the wrist
- Shape of residual limb to facilitate suspension
- Control site capabilities
The extent of functional impairment which the user currently has should be assessed in detail
- How do they currently complete daily tasks
- What tasks do they want to be able to achieve in both the short term and the long term
The user's priority must be functional gain as an i-Digits prosthesis is not offered as a cosmetic solution.
i-Digits will restore a gross grasp to the hand in most cases.
Initial assessment should determine which functional grasps the user needs to have restored by i-Digits, based on their presentation and level of impairment.
Users should:
- Be motivated to use a prosthesis
- Have realistic expectations
- Main priority of function over aesthetics
The user should be educated on the following aspects of using an i-Digits prosthesis
- It may feel heavy in the early stages
- It may feel tight / unusual initially due to need to fit snugly around their residual hand
- Time and effort are required to learn to use the prosthesis
- Sensory feedback from their residual hand will be reduced while wearing the prosthesis
- It will not match the appearance of their sound hand
- i-Digits is not a replacement for a natural hand, but a tool to assist with functional tasks
Optimum outcomes are achieved when the Prosthetist and Therapist work closely together with the user.
There are 3 possible Myo-sites within the hand;
- Thenar compartment: imagine flexing or adducting the thumb. This muscle group is not appropriate if the user has their thumb intact.
- Hypothenar compartment: Palmar aspect - imagine flexing the little finger. Lateral aspect - imagine abducting the little finger
- Dorsal interosseoi: imagine flexing, extending or adducting the fingers
Alternatively, if these muscles are not present, then muscles on the forearm similar to those used for trans-radial level absence can be utilised.
If the user has a remnant digit which they can move, then force sensing resistors (FSRs) can be used for control.
Thenar muscle myo-testing.
Hypothenar muscle myo-testing.
Verifying isolated control between open and close muscle signals.
Ensuring no accidental signals are generated during movement.
Refer to Myo-testing in Resources section, for detailed instructions on how to complete myo-testing and training.
Take the impression of the entire affected arm up to the elbow, to enable the full alignment to be understood during fabrication.
The impression will be used to fabricate a positive plaster model, which must be extremely smooth and dry for fabrication of silicone socket.
Preparation
- Apply Vaseline to the hand and arm
- Have the user extend their arm parallel to a table
- The wrist should be in a neutral position
- Remaining digits should be held in a position where they can work in conjunction with i-Digits (i.e. ensuring opposition can be achieved)
- Note: Be careful that the silicone does not come into contact with clothing
Mixing Impression Material
- Stir the silicone thoroughly
- Apply 1/2 to 2/3 bottle of curing agent per 1lb tub of impression material and mix well. Note: If material was refrigerated for 24hours before use; apply 2/3 bottle
- Ensure a second tub is available and ready to mix
- Curing time varies depending on temperature and curing agent quantity (will be approximately 2-3 minutes)
Applying the Material
- Begin pouring the mixed silicone over the surface of the hand and arm, have the user rotate their arm and pour over the opposite surface
- Collect any silicone that has fallen & re-apply it until the silicone begins to cure
- Ensure silicone is applied between each remaining finger and thumb
- Once the impression material starts to set, have the user hang their arm by their side in a relaxed position
- Ensure user does not move their residual hand from the optimal position
Removing the Impression
- When the silicone is completely cured, remove the impression
- First, loosen around the proximal edge
- Instruct the user to gently move fingers or wrist to loosen allowing air to enter the impression
- Pull downwards on the impression to remove
- The silicone can be ripped/torn until the client can exit the negative mold. Do not cut the impression (a tear is easier to repair accurately than a cut)
- Once removed, check the inside of the impression for complete and even coverage
Fill the impression with plaster.
Minimal rectification is required.
- Smooth gently to remove detail
- Fill any deep creases of hand
- Slight reduction to wrist area
- Build up reliefs over any particularly sensitive or bony areas
Fabrication of a silicone socket requires the cast to be extremely smooth.
